
Qt For Python (PySide6) GUI For Beginners : The Fundamentals
Build Cross Platform Desktop Applications in Python. Run Them on Windows, Mac and Linux. Build once, Run Everywhere!
Lo que serás capaz de hacer
Welcome to PySide6 GUI Development for Beginners. A course designed to teach you how to build cross platform desktop applications than run on Windows, Mac and Linux, using PySide6 , also known as Qt For Python . Qt is a powerful cross platform app development framework that can be used to build applications targeting a wide range of device platforms including desktop targets like Windows,Linux,Mac; mainstream mobile platforms like Android and Ios, and even embedded devices! Python is now supported as an official language for Qt and you can take advantage of the power of Qt with Python, under the PySide6 or Qt for Python umbrella, and this course is designed to help you start doing just that! The course assumes no prior knowledge about Qt and methodically guides you though the concepts, constructs and mechanisms needed to get you building your dream GUIs for desktop with Python, using Qt Widgets. By the time you are done with the course, you will not only be armed with knowledge you could use to build basic to intermediate graphical user interface applications, but you will also have enough momentum, to even learn more on you own. As with many of my other courses, I use every chance I get to show you how to use the documentation to find solutions on your own and faster. Let's take a look at the content of the course. We start with a complete beginner to Qt in mind, and we take you through the the process of getting your environment set up on your platform of choice : We install Python and PySide6 on our host machine We then visit the fascinating concept signals and slots in Qt where you learn the most flexible way to respond to events Next we dive in the Qt Widgets section and visit some of the most important widget classes in Qt : QWidget QMainWindow QMessageBox QPushButton QLineEdit QTextEdit QLabel QHBoxLayout, QVBoxLayout, QGridLayout We visit size policies and stretches and how they help tie the knots in your layouts QCheckBox and QRadioButton QList QComboBox QListWidget QTabWidget QMenu, QToolBar, QAction Next we look at how to use Qt Designer or Qt Creator to lay out UI components by just dragging and dropping stuff, allowing you to just focus on the logic in your python files. Dialogs are explored next , we look at QDialog and how to build your own custom dialog class from scratch , QDialogButtonBox, QMessageBox, QFontDialog, QFileDialog, QInputDialog and how they add a layer of interactivity to your Qt GUI applications. We then go on and explore how to work with the Qt Resource System , Styling your Qt applications with QStyle, QPalette and Style Sheets, Saving your application settings with QSettings, Working with Files and Directories using QFile and QDir, working with the network capabilities of Qt where we : See the different classes that are available to work with networks in Qt Build an application to download web pages in our Qt Applications Build an application to consume Rest APIs in your Qt Applications and we wrap up the course looking at the Model View Architecture of the Qt framework where we learn about classes like QListWidget QTableWidget QTreeWidget QListView QTableView QTreeView QStandardItemModel QAbstractItemTableModel QAbstractItemListModel QStringListModel and much more! Qt has quite a huge user base, and there are thousands of projects using it, both open source and commercial, including the one I am using to record this video right now. If you want to learn and master how to build cross platform graphical user interface applications with python, then this course is designed with the skill, patience and depth, needed to get you there as effisciently as possible.Please check out some of the preview videos, and let get you started building cross platform GUI applications, using Python and Qt.
- The fundamentals of working with Qt to build Gui Applications using PySide6
- Working with Qt Widget Classes
- Working with Dialog Classes
- Using the Qt Resource System
- Using Qt Designer and Qt Creator for Ui Design
- Styling Qt Applications
Temario
UNIDAD 1 - Welcome · 5 leccionesUNIDAD 1 - Welcome
UNIDAD 1 - Welcome
- Welcome
- Get Help (Fast)
- You'll be a builder
- Get the most out of the course
- About the source code
UNIDAD 2 - Environment Setup - Trying Things out · 3 leccionesUNIDAD 2 - Environment Setup - Trying Things out
UNIDAD 2 - Environment Setup - Trying Things out
- Python and PySide6 Install
- Understanding the Code
- Organizing Code in Classes
UNIDAD 3 - Signals and Slots · 1 leccionesUNIDAD 3 - Signals and Slots
UNIDAD 3 - Signals and Slots
- Signals and Slots
UNIDAD 4 - A Tour of Qt Widgets · 15 leccionesUNIDAD 4 - A Tour of Qt Widgets
UNIDAD 4 - A Tour of Qt Widgets
- Introduction
- QWidget
- QMainWindow
- QMessageBox
- QPushButton
- QLabel and QLineEdit
- QTextEdit
- QLabel and Images
- Size Policies and Stretches
- QGridLayout
- QCheckBox and QRadioButton
- QListWidget
- QTabWidget
- QComboBox
- Summary
UNIDAD 5 - Qt Designer · 12 leccionesUNIDAD 5 - Qt Designer
UNIDAD 5 - Qt Designer
- Introduction & Install
- Using Qt Designer
- Using Qt Creator
- Qt Designer and QuILoader
- Qt Designer and QuiLoader V2
- Compiling User Interfaces to Python
- Working with resources manually : Qt Designer
- Working with resources manually : Qt Creator
- Loading resources from Qt Designer
- Loading resources from Qt Creator
- QMainWindow : Putting it all togerher!
- Summary
UNIDAD 6 - Dialogs · 8 leccionesUNIDAD 6 - Dialogs
UNIDAD 6 - Dialogs
- Introduction
- QDialog
- QDialogButtonBox
- QFileDialog
- QFontDialog
- QColorDialog
- QInputDialog
- Summary
UNIDAD 7 - Styling · 7 leccionesUNIDAD 7 - Styling
UNIDAD 7 - Styling
- Introduction
- Styles
- QPalette
- QPalette Limitations
- Stylesheets
- External Stylesheets
- Summary
UNIDAD 8 - Working with Settings · 1 leccionesUNIDAD 8 - Working with Settings
UNIDAD 8 - Working with Settings
- QSettings
UNIDAD 9 - Files and Directories · 4 leccionesUNIDAD 9 - Files and Directories
UNIDAD 9 - Files and Directories
- Introduction
- QFile
- QDir
- Summary
UNIDAD 10 - Working with Network · 4 leccionesUNIDAD 10 - Working with Network
UNIDAD 10 - Working with Network
- Introduction
- Downloading web Pages with QNetworkAccessManager
- Handling JSON APIs
- Summary
UNIDAD 11 - Model View Architecture · 15 leccionesUNIDAD 11 - Model View Architecture
UNIDAD 11 - Model View Architecture
- Introduction
- QListWidget
- QTableWidget
- QTreeWidget
- QStringListModel and QListView
- QTableView and QStandardItemModel
- QTreeView and QStandardItemModel
- QListView, QTreeView and QFileSytemModel
- QModelIndex Addressing
- Custom Models : Theory
- Custom Table Model
- Custom Table Model with Roles
- Custom Table Model with Header Data
- Custom Table Model with Modifications
- Summary
UNIDAD 12 - Packaging · 1 leccionesUNIDAD 12 - Packaging
UNIDAD 12 - Packaging
- Packaging
UNIDAD 13 - Farewell · 2 leccionesUNIDAD 13 - Farewell
UNIDAD 13 - Farewell
- Farewell
- Bonus Lecture
Tu certificado lo emite la SEP, no solo una plataforma
Al demostrar la competencia recibes un certificado emitido por la Secretaría de Educación Pública a través del Gobierno del Estado de México: un documento oficial que puedes presentar con confianza ante cualquier empleador o institución.
Tu certificado con INEC
- Lo emite la Secretaría de Educación Pública (SEP), a través del Gobierno del Estado de México
- Documento oficial con folio verificable en línea
- Lo otorga la Universidad Tecnológica Fidel Velázquez
Otras plataformas en línea
- Constancia privada emitida por la misma plataforma
- Solo acredita horas cursadas o asistencia
- Sin respaldo de una autoridad educativa
Tu itinerario, de la inscripción al certificado
- 1
Inscripción con pago único
Pagas $2,800 MXN una sola vez y entras de inmediato al curso.
- 2
Estudias a tu ritmo
13 unidades con videos, lecturas y actividades, disponibles 24/7 durante 12 meses.
- 3
Cuestionarios por unidad
Cuestionarios para comprobar lo aprendido.
- 4
Certificado
Emitido por la SEP a través del Gobierno del Estado de México, con folio verificable.
Un certificado oficial de la SEP
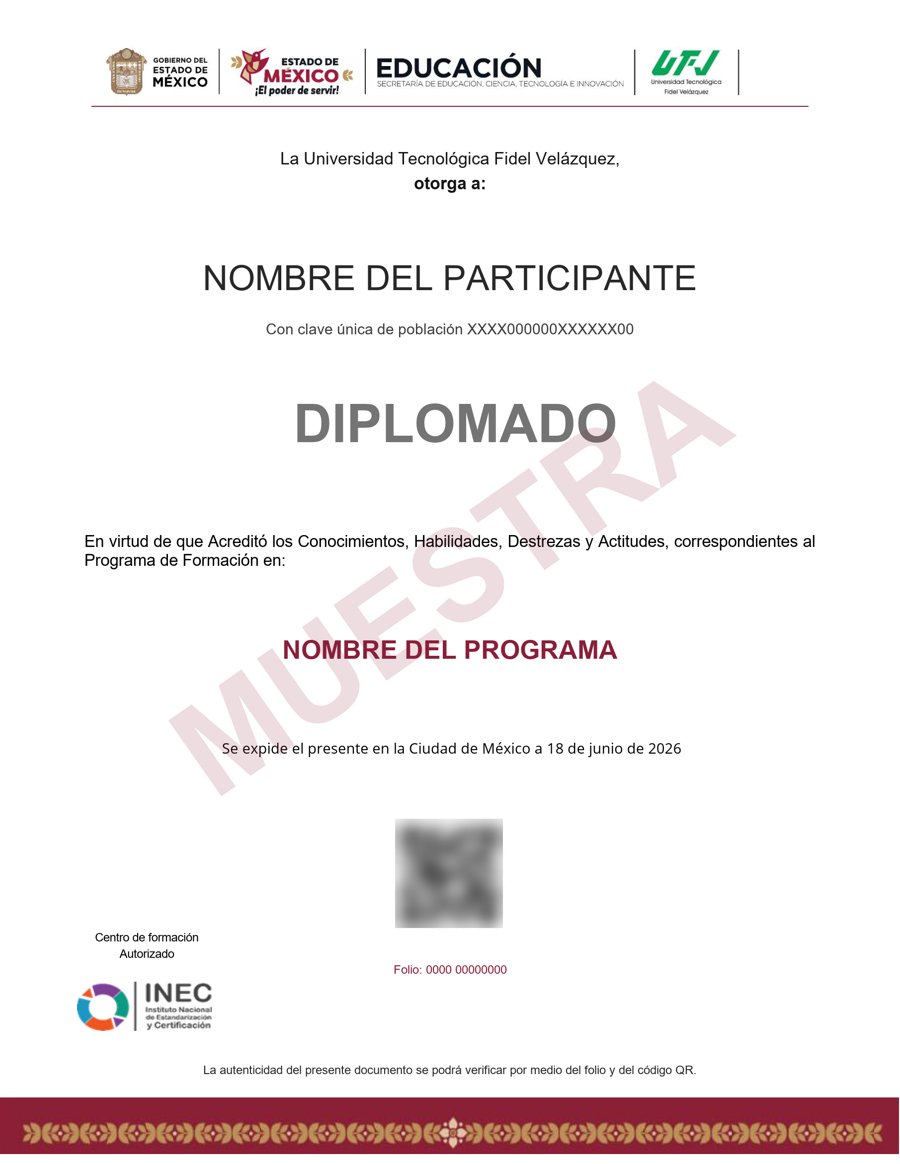
Muestra · verificable por folio y QR
- Emitido por la Secretaría de Educación Pública (SEP), a través del Gobierno del Estado de México. No es una constancia privada: es un documento oficial, y ese respaldo marca la diferencia frente a otras plataformas en línea.
- Contenido impartido por Daniel Gakwaya.
- Folio y QR verificables para compartirlo con quien te contrate.
Empieza hoy, a tu ritmo
Un solo pago y acceso inmediato al curso completo durante 12 meses.
- 13 unidades · 78 lecciones · 60 h
- 12 meses de acceso
- Certificado emitido por la SEP (Gob. del Estado de México) con folio verificable
Sobre tu inscripción
¿Cómo es el pago?
Un solo pago de $2,800 MXN. No hay mensualidades ni cargos recurrentes.
¿Cuánto tiempo tengo acceso?
12 meses desde tu inscripción, 24/7, para avanzar a tu ritmo.
¿Quién imparte el contenido?
El curso es impartido por Daniel Gakwaya; INEC gestiona tu inscripción, evaluación y certificado.
¿Qué pasa cuando vence mi acceso?
Puedes renovar tu cuenta tú mismo desde la plataforma, sin trámites ni esperas.

